An affordable and elegant DIY floating frame can add a sophisticated touch to any artwork while being easy to create. Typically made from lightweight pine wood, which is both durable and budget-friendly, these frames can be found at most home improvement or craft stores. The simplicity of the pine wood makes it ideal for various decor styles, from modern to rustic, and the floating effect enhances the visual appeal of any art piece.
This type of frame is perfect for smaller spaces like apartments or cozy rooms, but adjustments can be made to save space by choosing slimmer profiles or stacking frames vertically. This customization ensures that your artwork is beautifully displayed while keeping the space neat and organized.
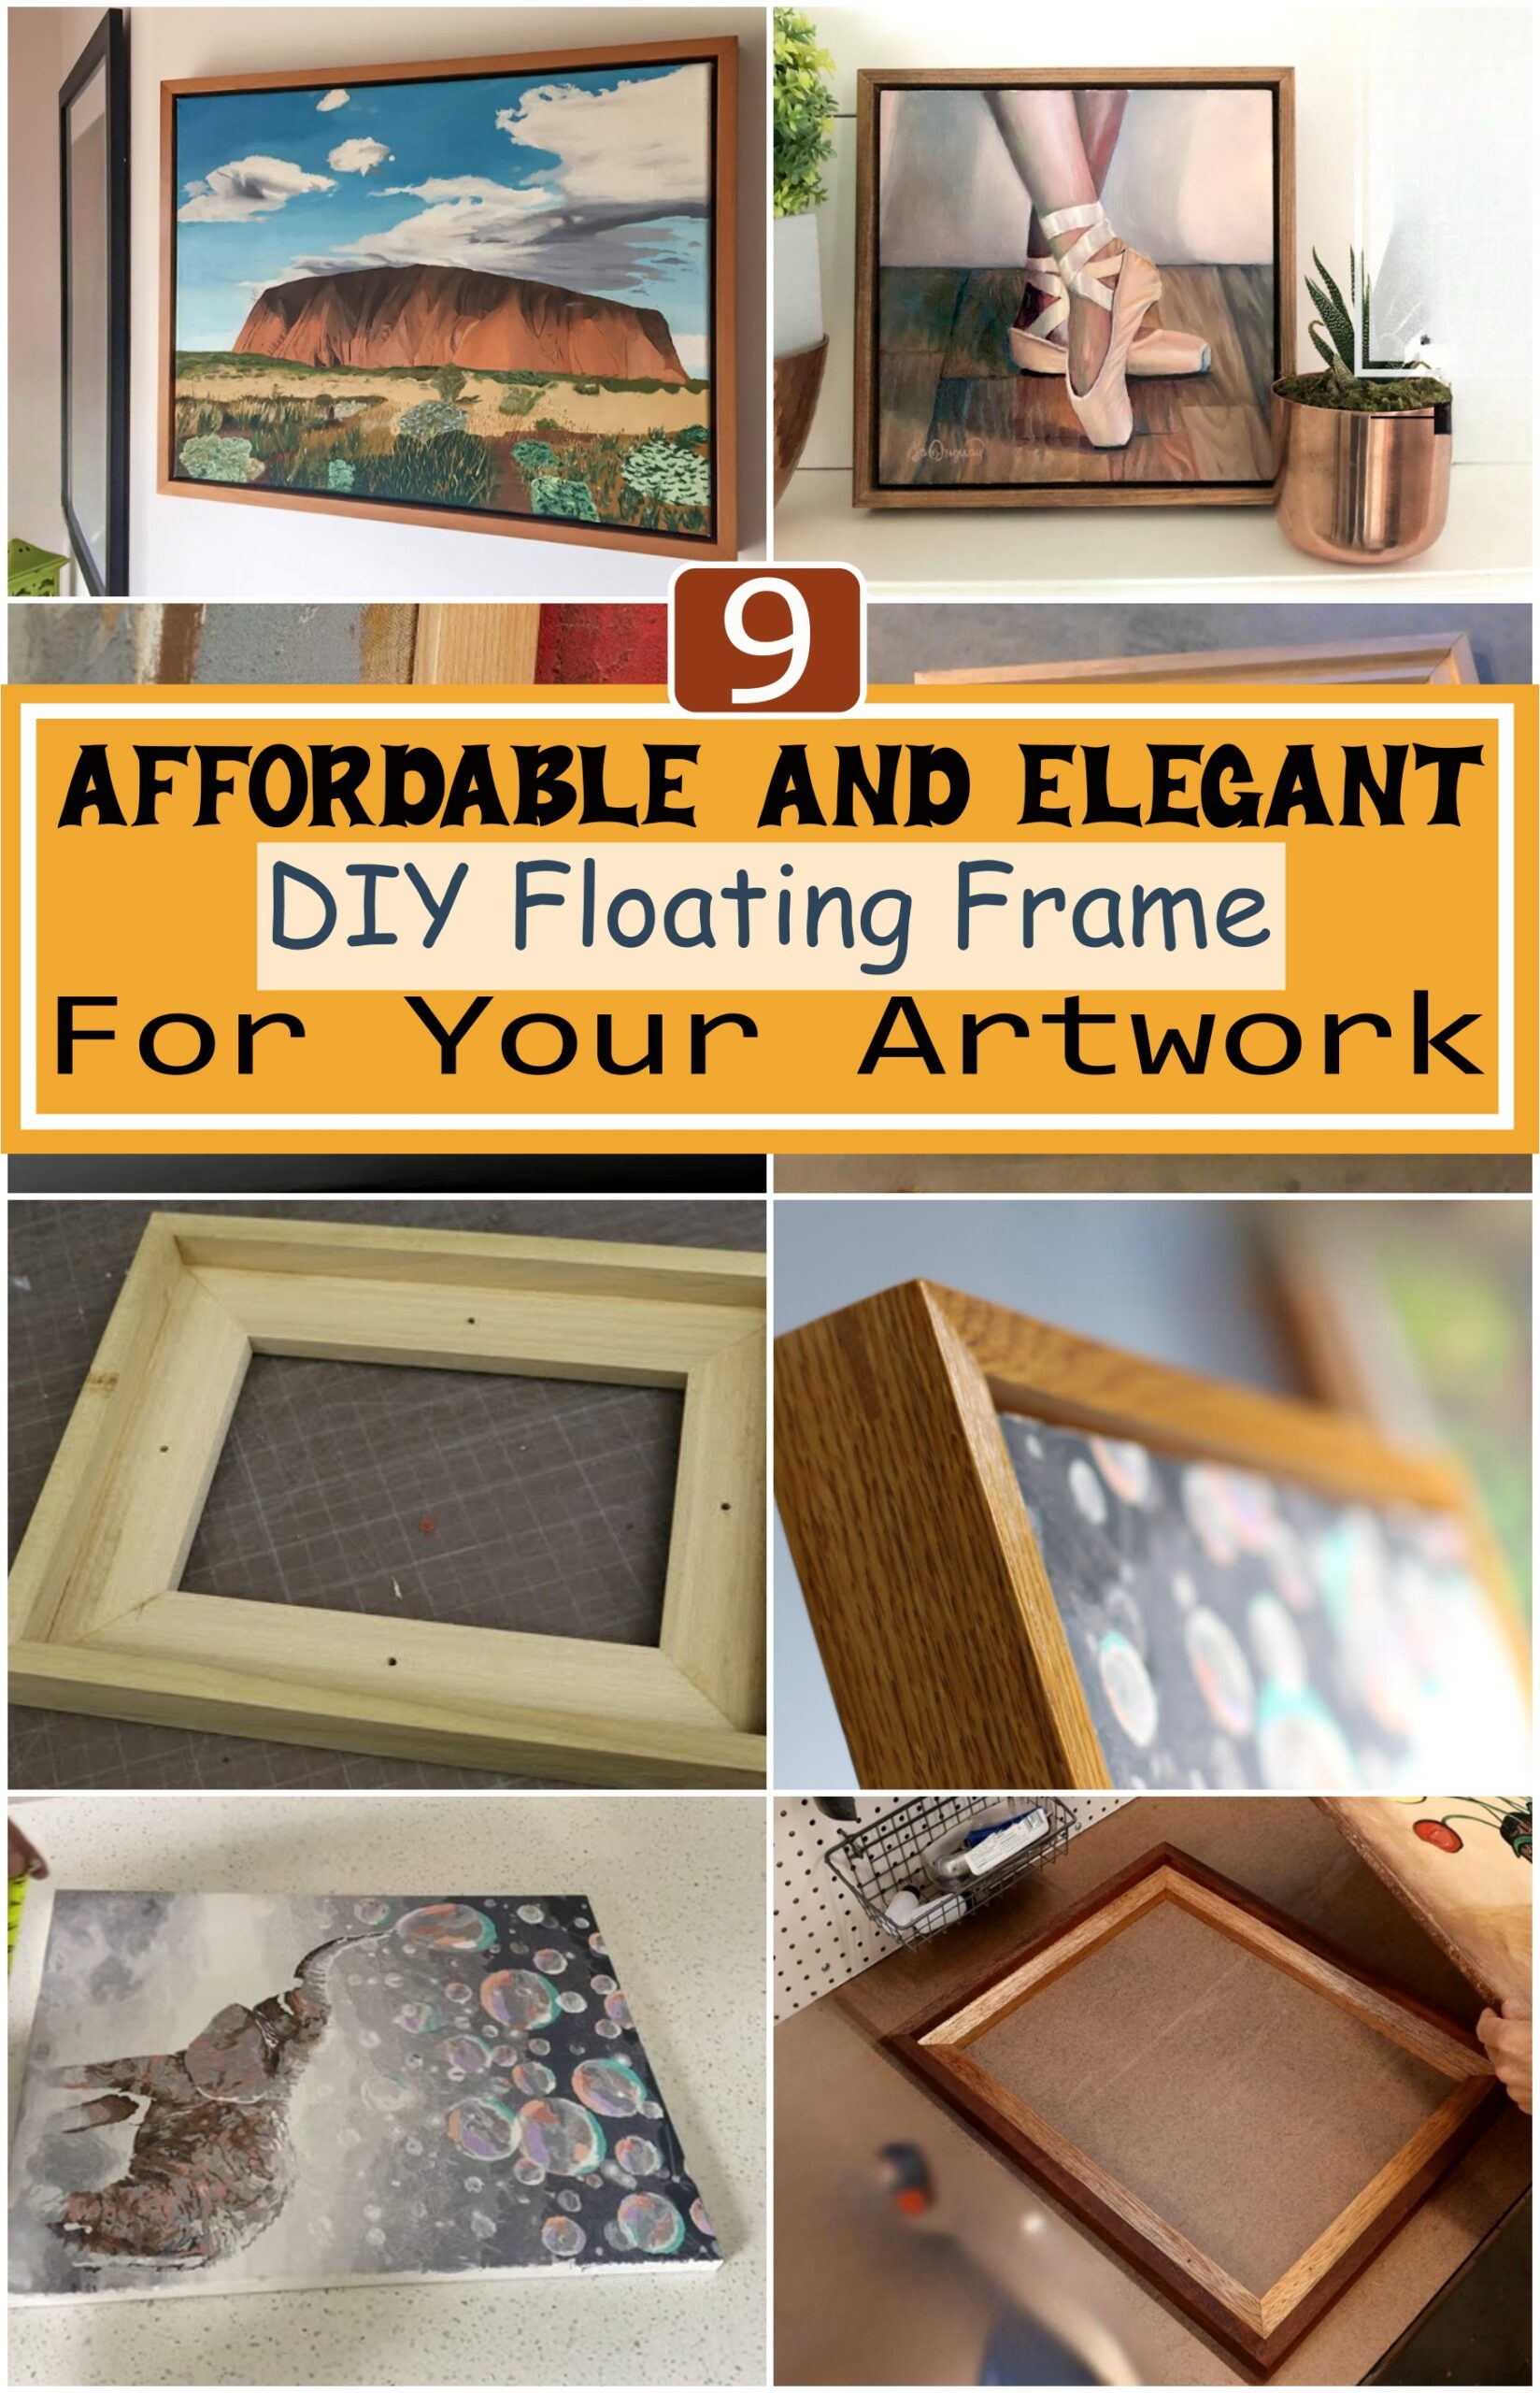
Make A Floating Picture Frames
Uses: Floating picture frames are perfect for showcasing memories, art, or photographs in a modern, stylish way. They give the illusion of the picture hovering in mid-air, making them ideal for home décor, offices, or as unique gifts for loved ones.
Making: To create a floating picture frame, it’s essential to carefully position the glass and frame to allow the image to appear as if it’s suspended. The process involves assembling a simple frame with a gap between the picture and the glass, and using transparent materials to enhance the floating effect.
Materials:
- Picture frame
- Glass or acrylic sheet
- Transparent spacers or adhesive strips
- Ruler and measuring tape
- Paint (optional for customizing)
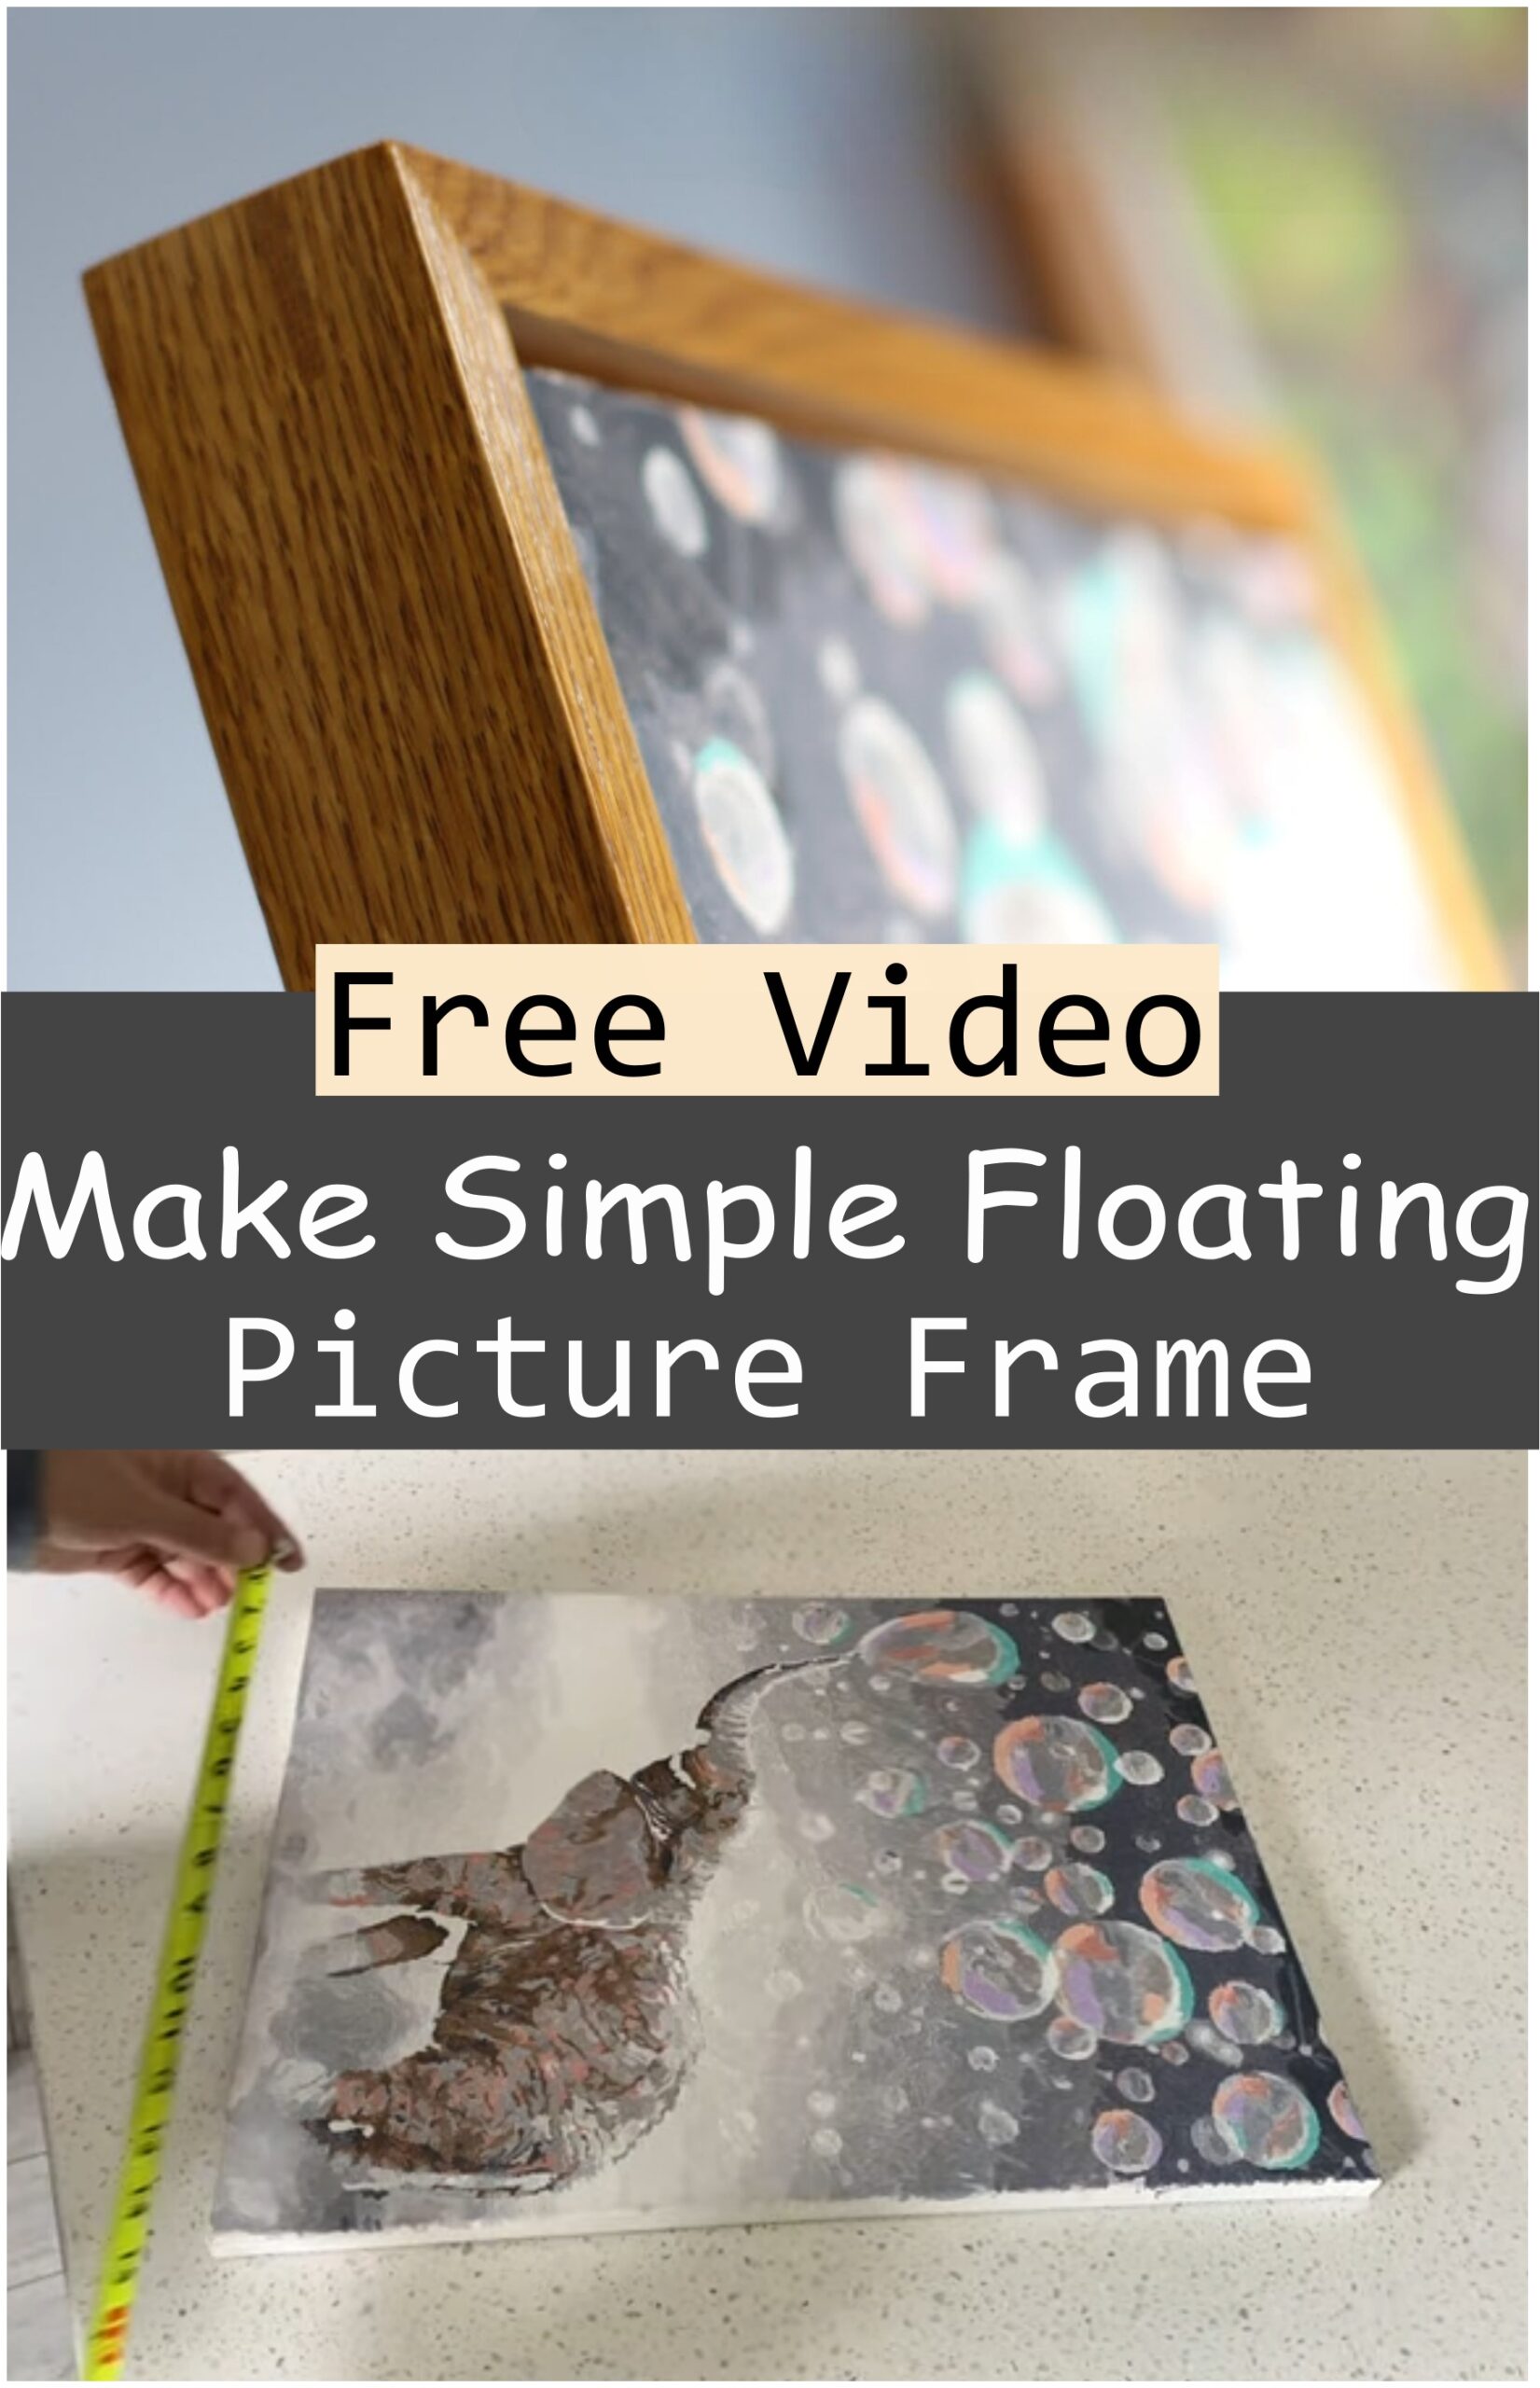
Make Simple Floating Picture Frame
Uses: A simple floating picture frame enhances the beauty of photographs, artwork, or cherished memories by giving them a modern, elegant presentation. This frame style creates the illusion that the image is suspended within the frame, adding depth and sophistication to any room. It’s an excellent choice for personal spaces, offices, or as thoughtful gifts.
Making: Creating a simple floating picture frame involves assembling a basic wooden frame with a slight gap between the picture and the glass, allowing the image to appear as if it is floating. The process includes cutting the frame pieces to the desired size, assembling them securely, and attaching the picture in a way that maintains the floating effect. This approach offers a clean and contemporary look, suitable for various decor styles.
Materials:
- Wooden frame pieces
- Glass or acrylic sheet
- Transparent spacers or adhesive strips
- Measuring tape
- Wood glue or nails
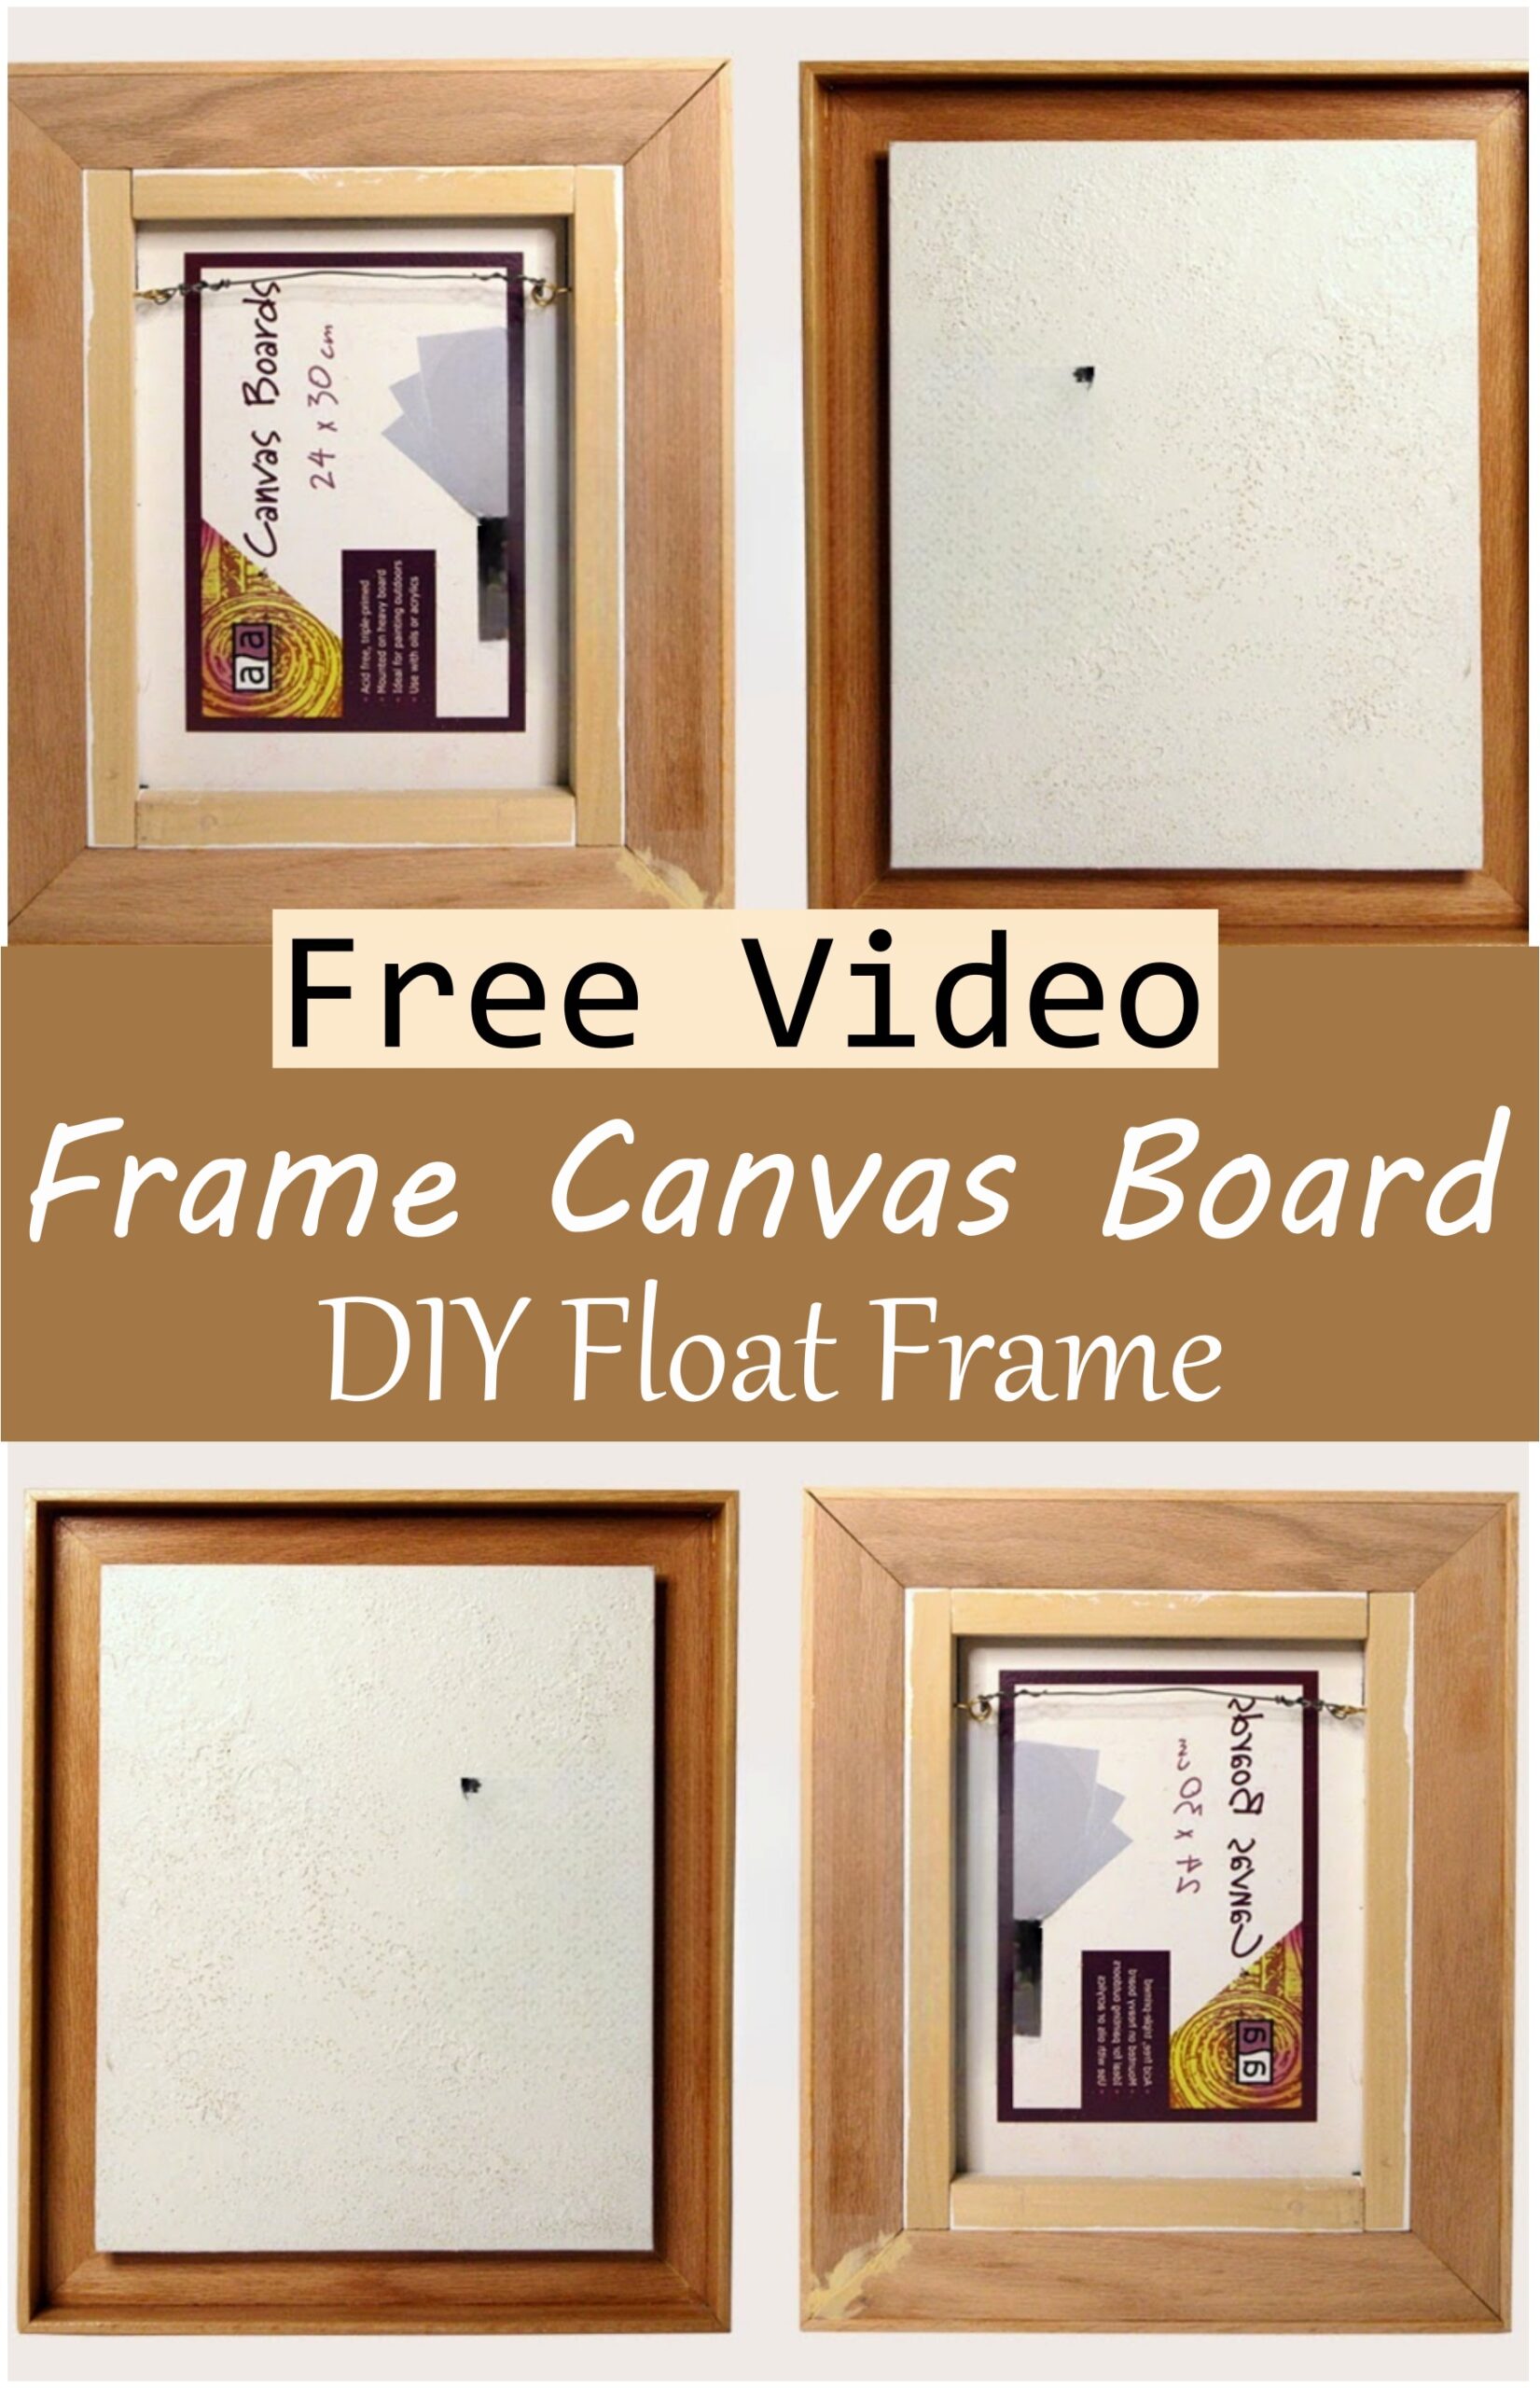
Frame Canvas Board DIY Float Frame
The Frame Canvas Board DIY Float Frame is an excellent choice for showcasing artwork with a unique, modern look. It allows the art to “float” within the frame, creating an elegant effect. This type of frame is great for personal artwork, photographs, or prints, adding a stylish touch to any room.
Uses: Ideal for framing paintings, prints, and photographs to enhance their appearance. It adds depth and a clean finish to any piece.
Making: The frame can be made by attaching the canvas or art piece to the float frame using simple tools. It requires careful measuring to ensure the art “floats” perfectly in the center.
Materials:
- Wooden frame
- Canvas or art piece
- Mounting hardware
- Measuring tools
- Nails or screws
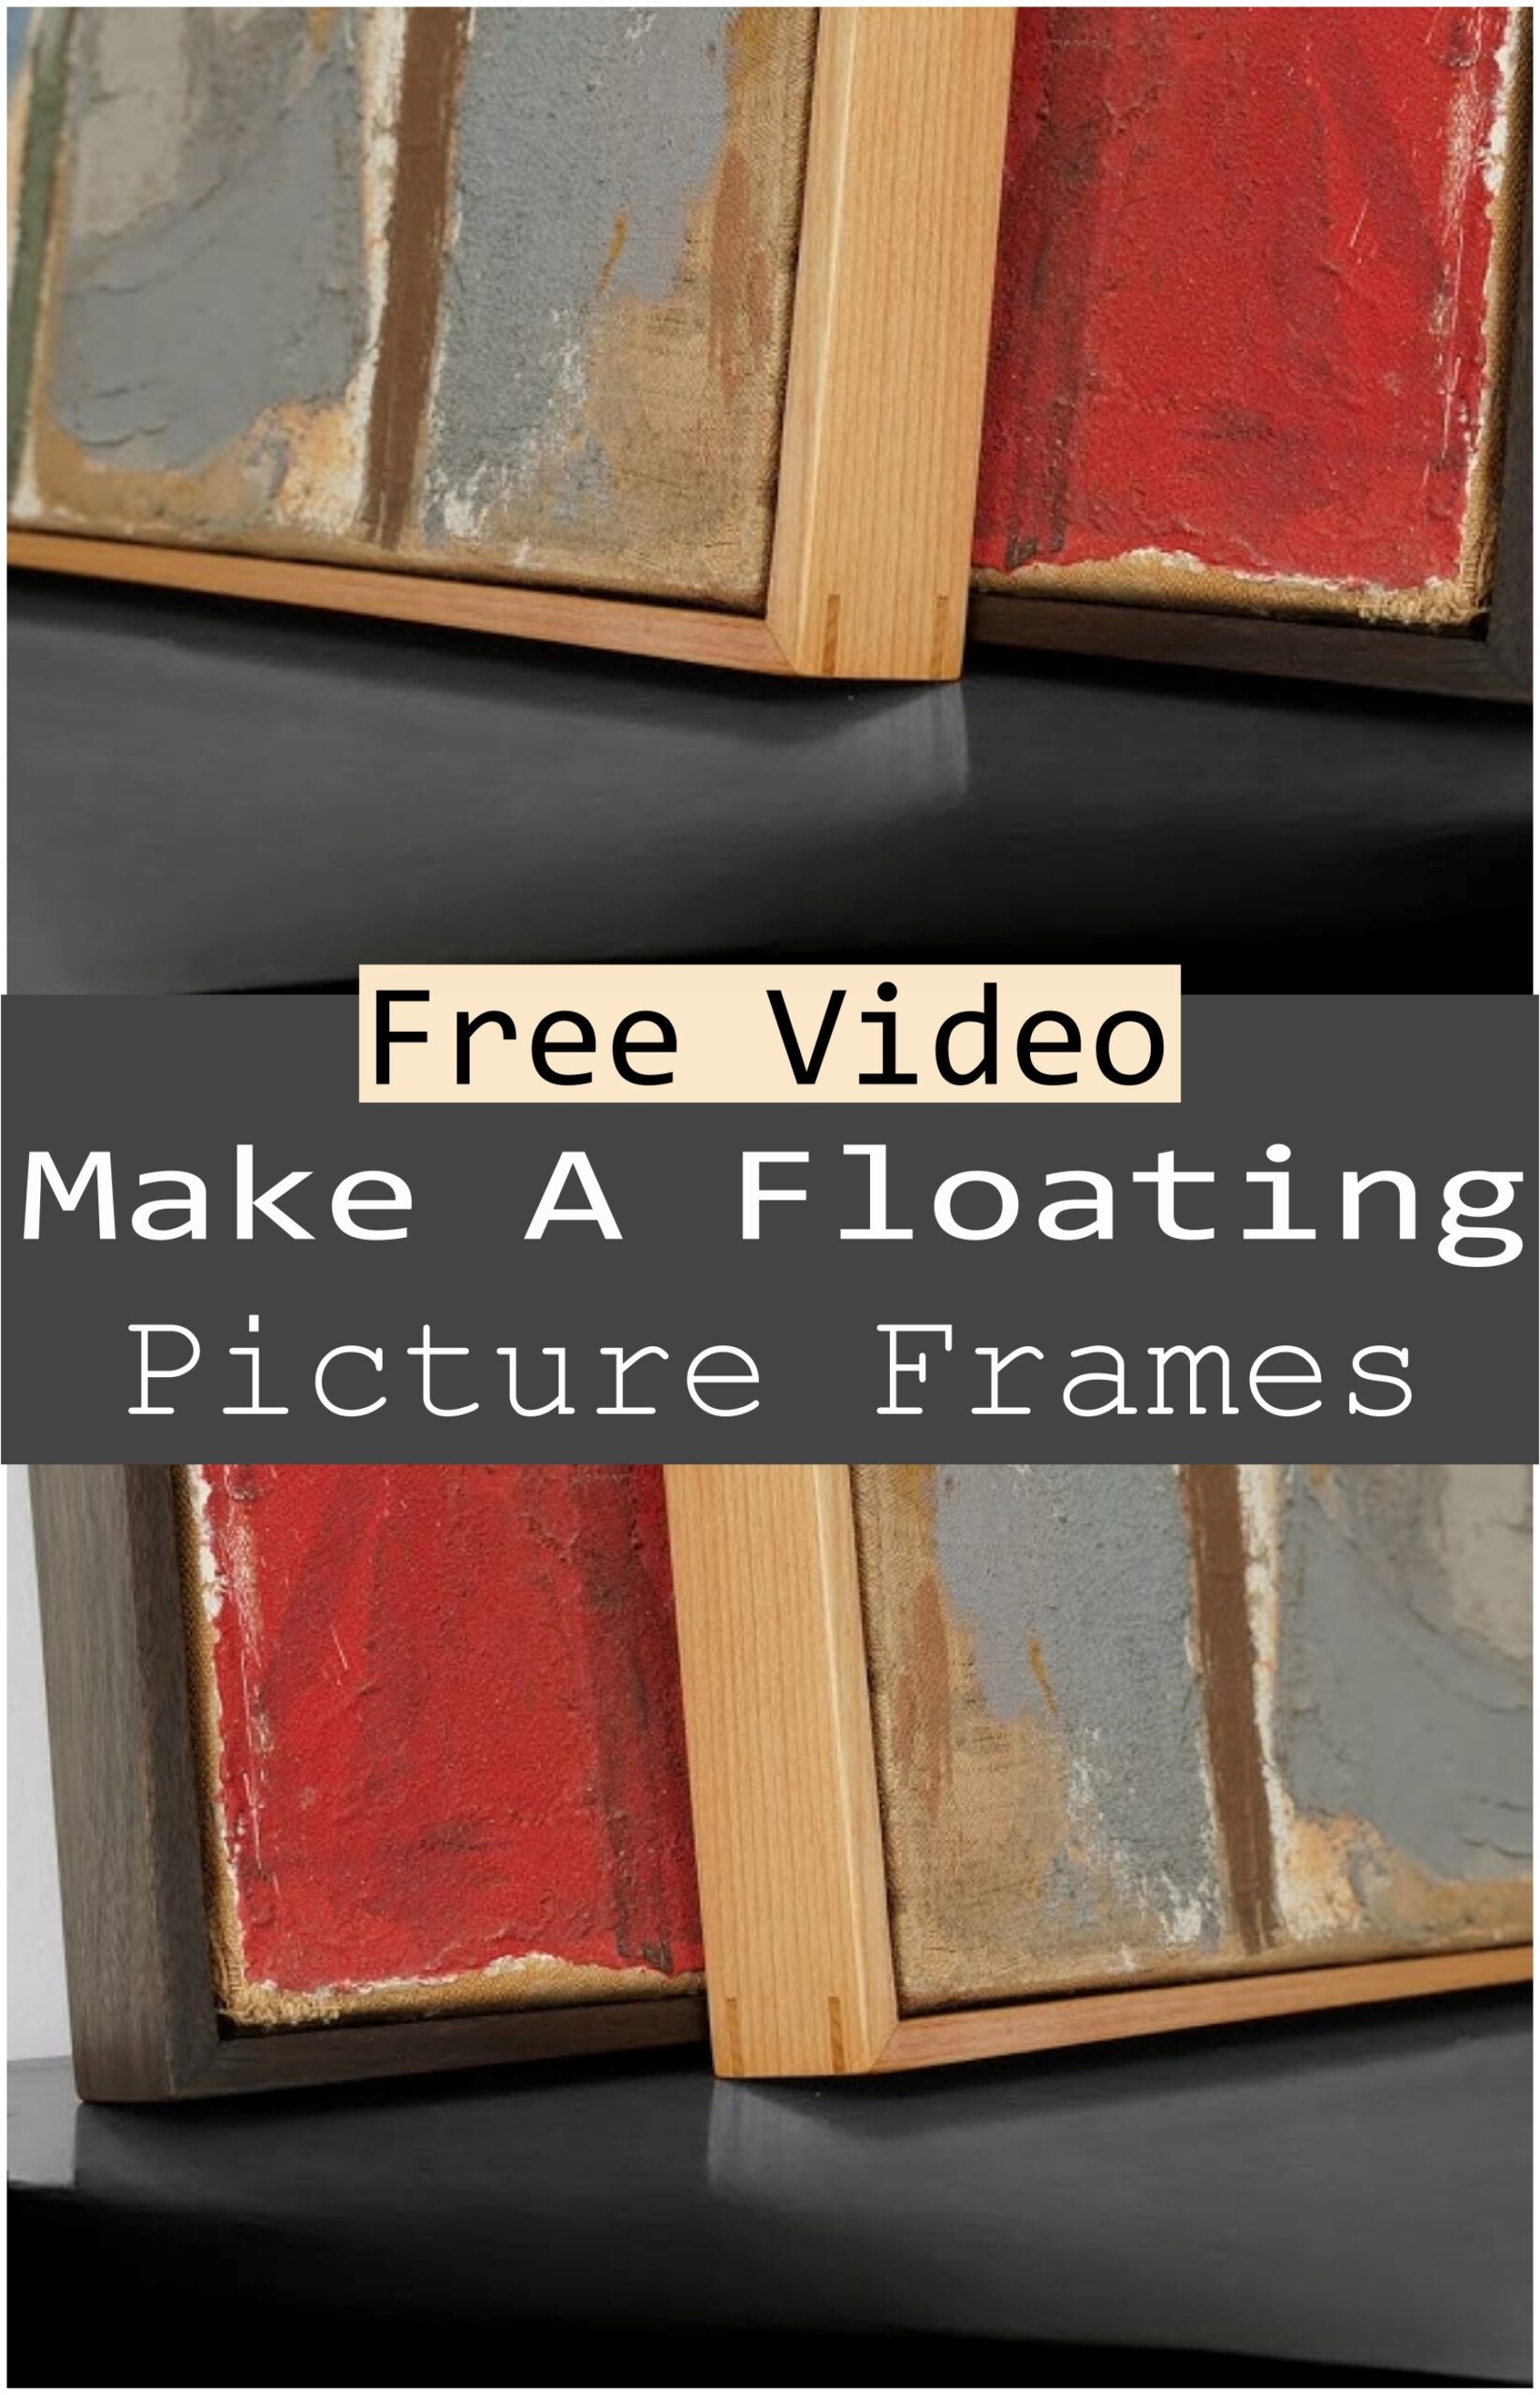
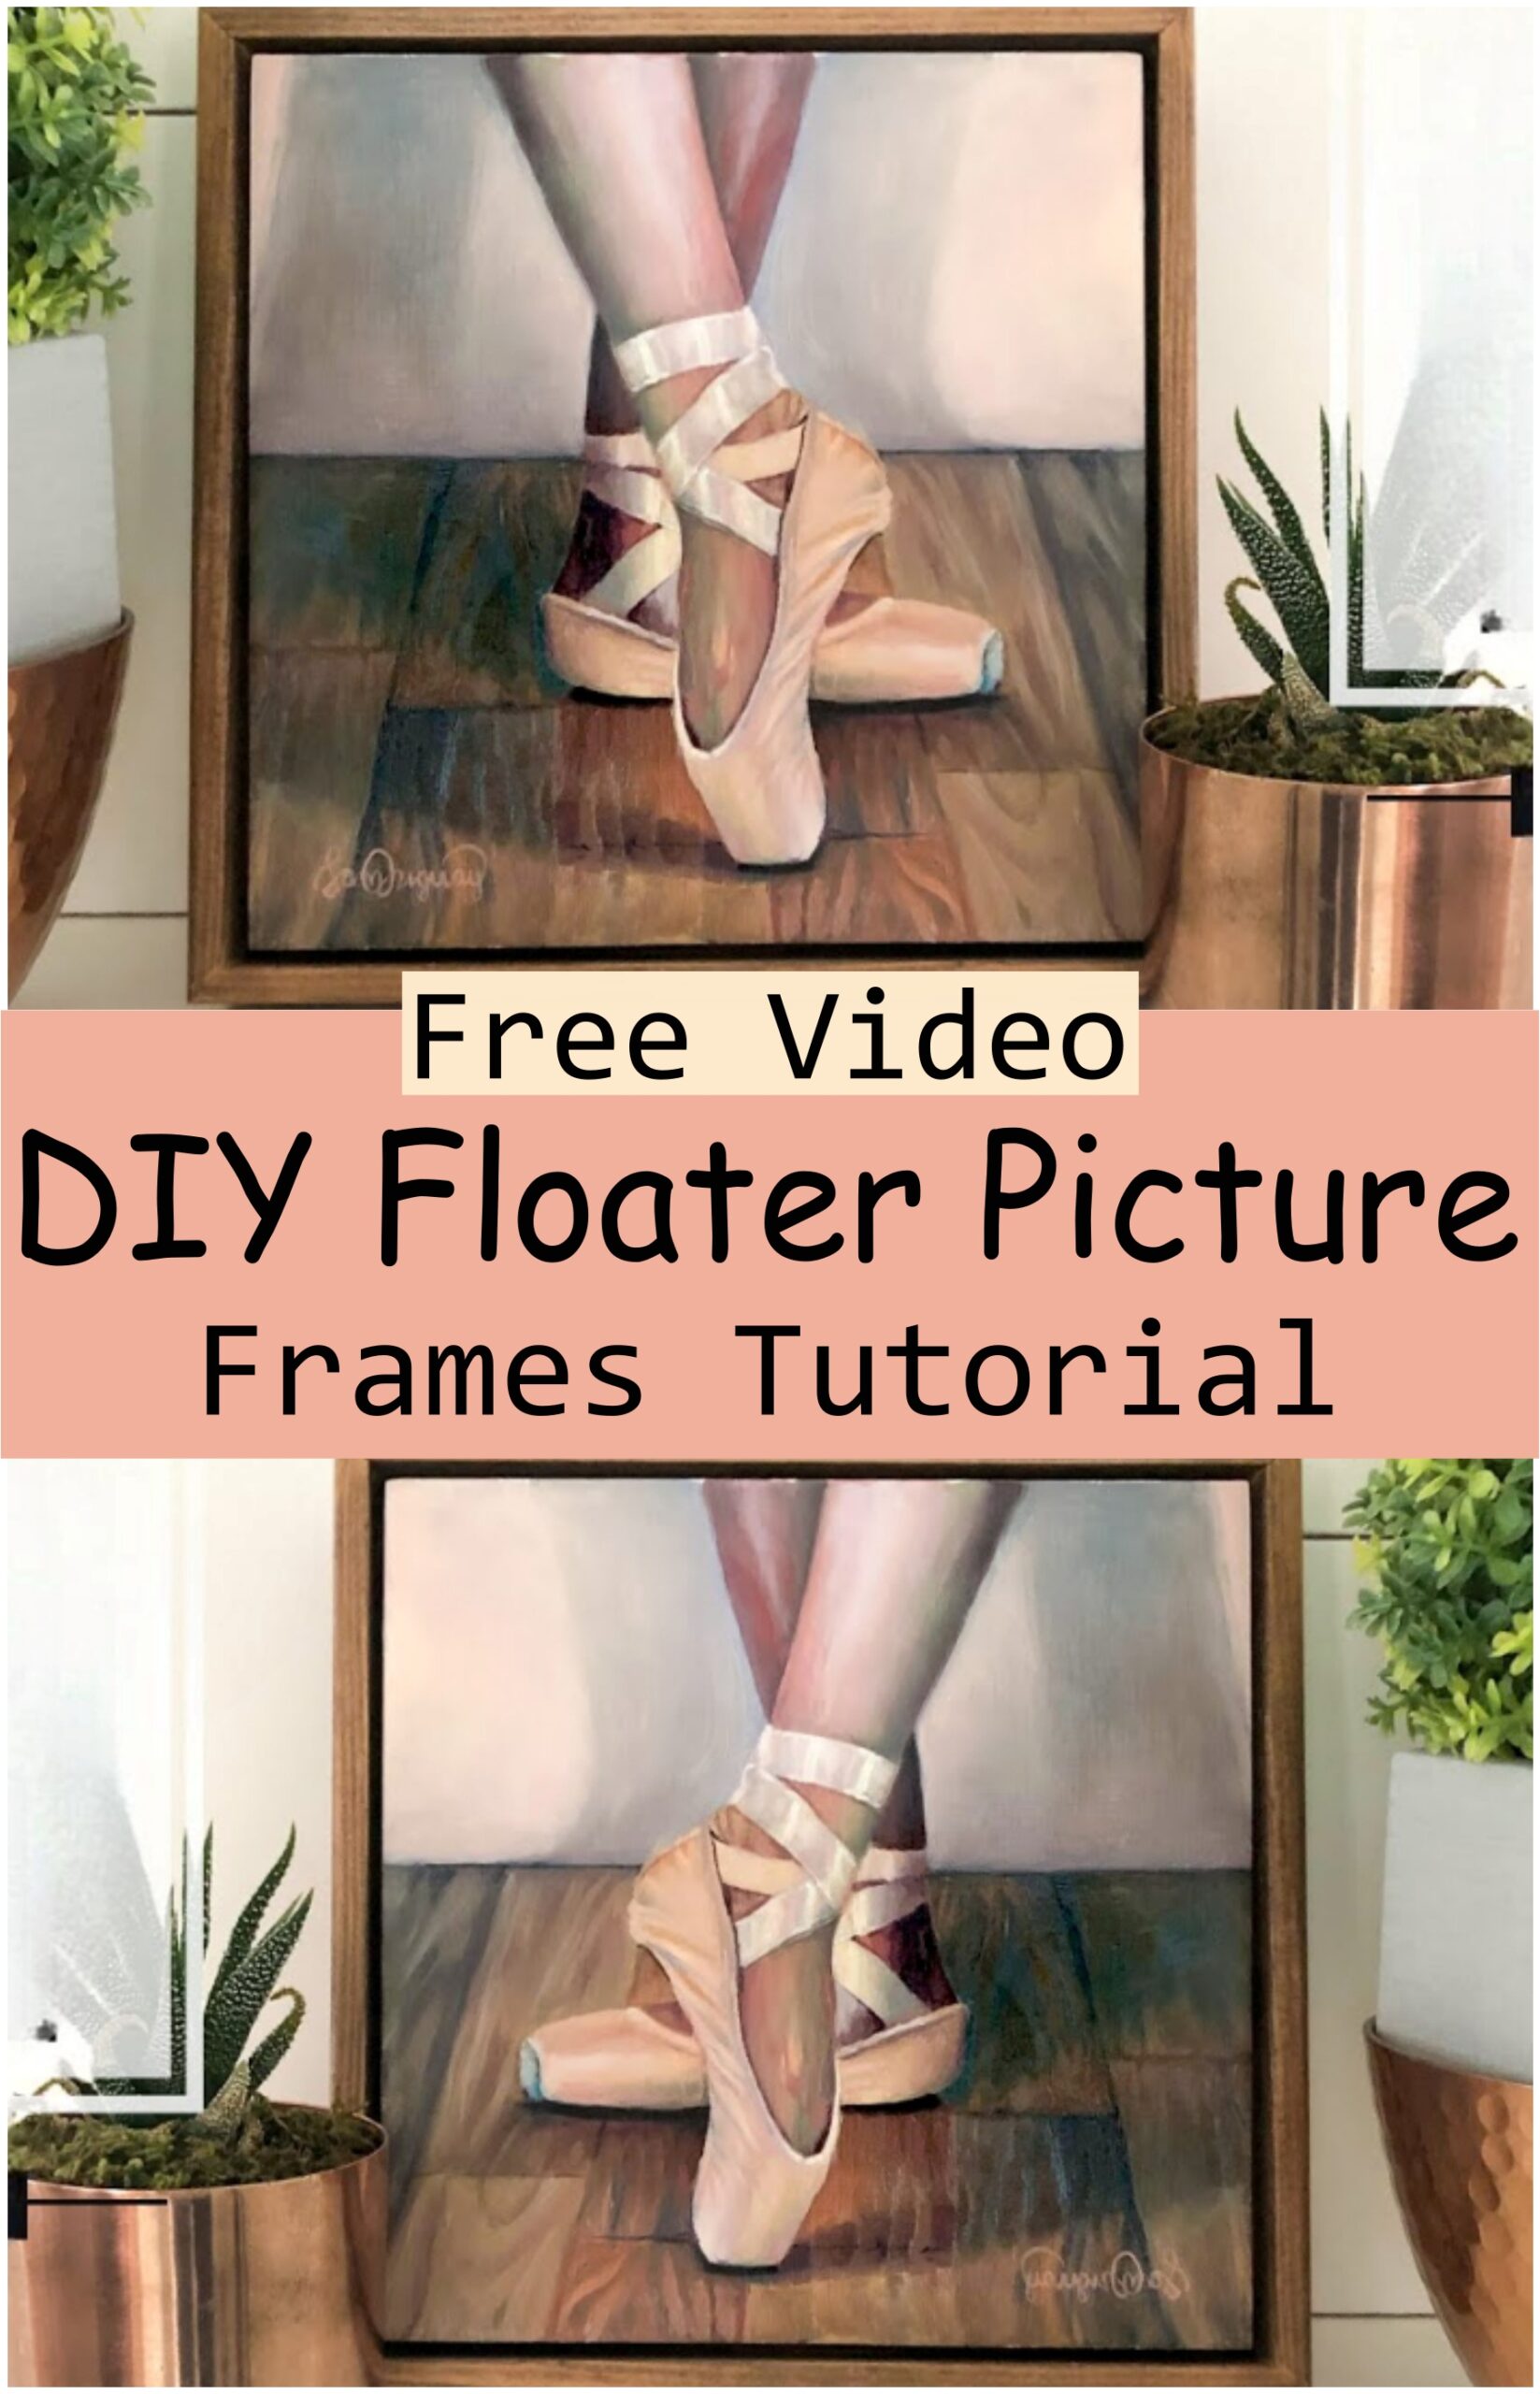
DIY Floater Picture Frames Tutorial
DIY Floater Picture Frames Tutorial is a wonderful way to create stylish and modern frames for your favorite photos or artwork. This simple project is perfect for anyone looking to add a personal touch to their home décor. Floater frames make your pictures look like they’re floating within the frame, creating a beautiful effect that draws attention. These frames can be used for photos, artwork, posters, or even prints, giving a unique, elegant look to any space.
Making:
To create these beautiful floater frames, start by carefully measuring and cutting the wood to the desired size for your frame. Next, assemble the frame by attaching the pieces with screws or nails, ensuring everything is sturdy. Once the frame is ready, place the picture inside and leave a small gap between the edges of the photo and the frame for the floating effect. Finally, secure the picture in place using frame clips or a similar method, and hang it on the wall for an impressive display.
Materials:
- Wooden boards (for the frame)
- Measuring tape
- Saw
- Screws or nails
- Picture clips
- Wood glue (optional)
- Sandpaper
- Paint or stain (optional)
This simple and easy-to-follow guide helps create beautiful, customized floater picture frames that add a modern touch to any space.
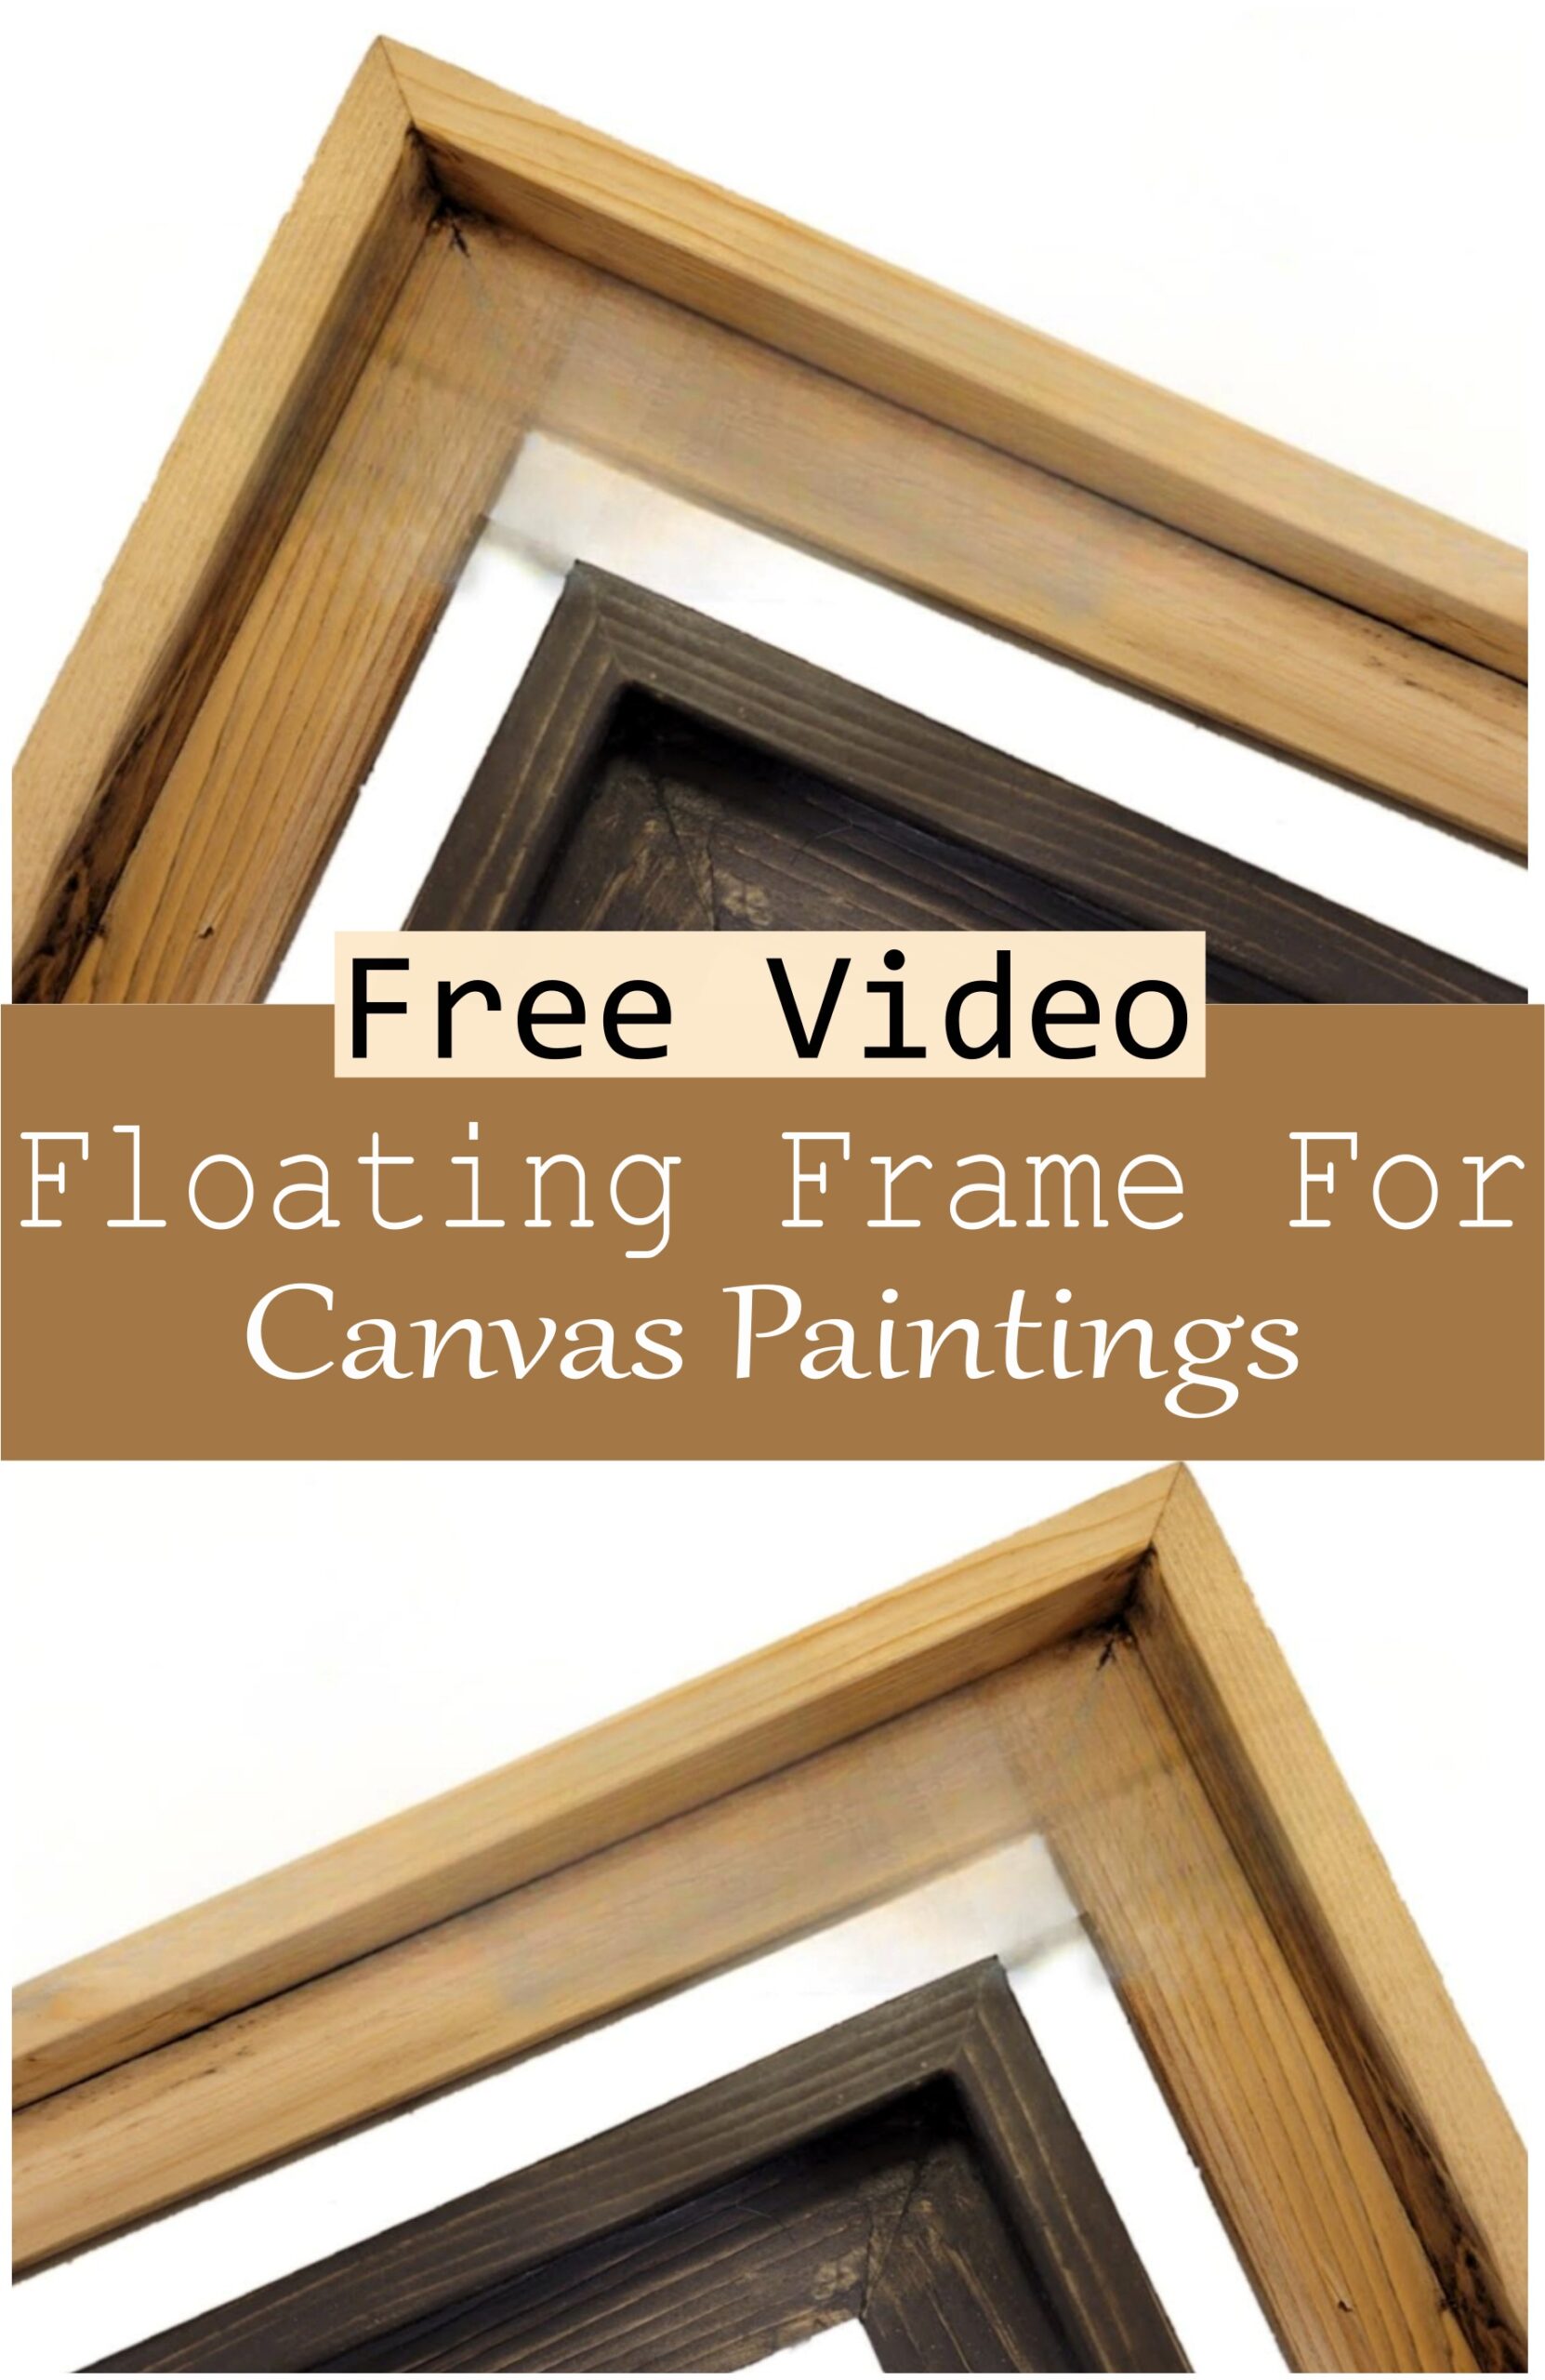
Floating Frame For Canvas Paintings
A Floating Frame for Canvas Paintings is a perfect way to highlight artwork and give it a sleek, modern look. This type of frame creates the illusion that the painting is floating within the frame, making the art stand out and enhancing its beauty. Floating frames are ideal for showcasing canvas paintings, photos, or prints, adding an elegant touch to any room. They are popular in galleries and homes alike, offering a simple yet stylish way to display artwork.
Making:
To make a floating frame for canvas paintings, begin by measuring the size of the canvas and cutting the wood to fit. After that, assemble the frame by attaching the wooden pieces together, leaving a small gap between the painting and the frame. This gap creates the floating effect. Ensure the frame is secure and sturdy by using nails or screws. Once the frame is ready, place the canvas inside and use frame clips or another method to hold it in place. Finally, hang the frame on the wall to show off the artwork beautifully.
Materials:
- Wooden boards (for the frame)
- Saw
- Measuring tape
- Nails or screws
- Frame clips
- Sandpaper
- Paint or stain (optional)
Creating a floating frame for canvas paintings is an easy and effective way to enhance the display of art in a home or gallery.
Floating Frames Hustle Canvas Paintings
Floating frames hustle canvas paintings bring elegance and a modern touch to any room. These paintings are perfect for decorating living rooms, bedrooms, or offices. They add a unique style that effortlessly fits into various interior designs, making any space feel more inviting and artistic. These pieces are great for anyone looking to enhance their environment with a beautiful, timeless artwork.
Making: The creation of floating frame hustle canvas paintings involves skilled artists and high-quality materials. The artwork is first carefully designed on canvas, ensuring vibrant colors and fine details. Afterward, the painting is stretched over a solid frame, which allows the art to appear as if it’s floating off the wall. This process gives the artwork a modern, minimalistic feel while preserving its rich texture and depth.
Materials:
- High-quality canvas
- Sturdy wooden frame
- Premium acrylic or oil paints
- Professional-grade brushes

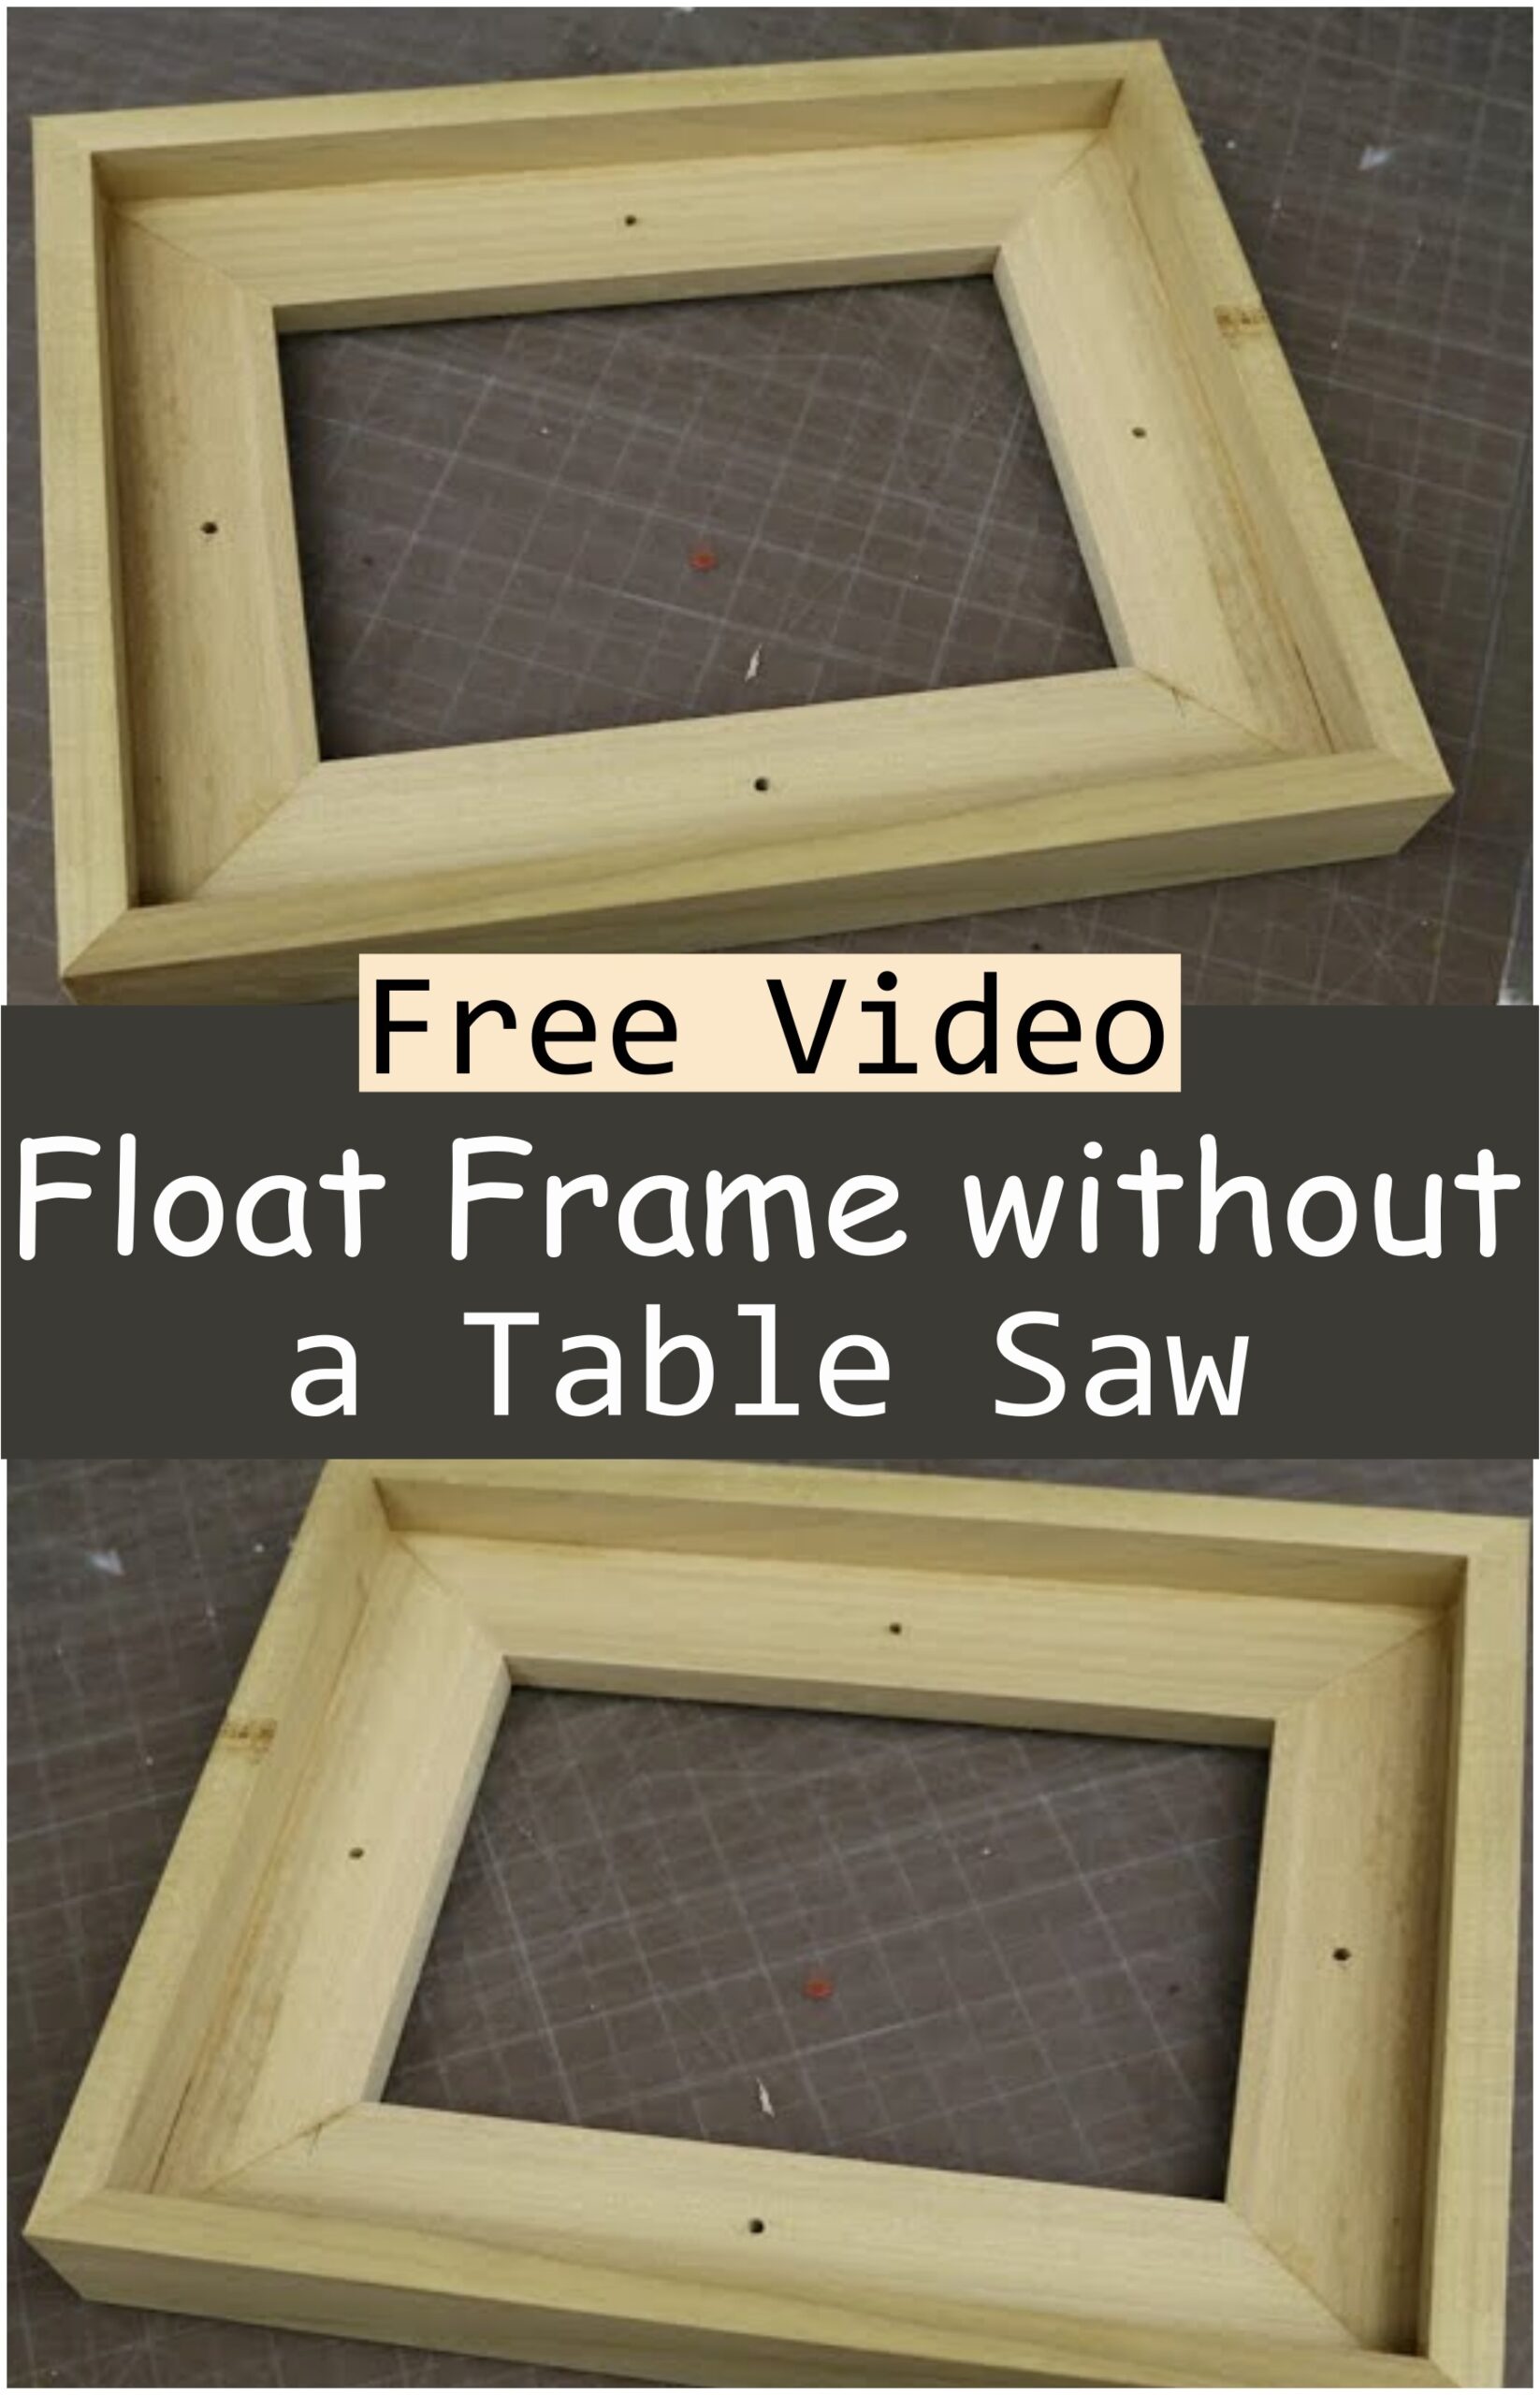
Float Frame Without A Table Saw
A float frame without a table saw is a great solution for creating beautiful frames without needing complex equipment. It is perfect for framing photos or artwork in a simple, elegant way. This frame gives a floating effect that enhances the artwork’s appearance.
Uses:
It’s ideal for framing canvases or photographs, giving them a modern, clean look while allowing the artwork to stand out.
Making:
To make this frame, start by measuring the artwork’s size and cutting the frame pieces to fit without using a table saw. You can use a miter box or hand saw for precise angles. Afterward, join the pieces together using wood glue and nails. Finally, apply a finish to protect the frame and give it a polished look.
Materials:
- Wood strips
- Saw (hand saw or miter box)
- Wood glue
- Nails
- Paint or stain (optional)
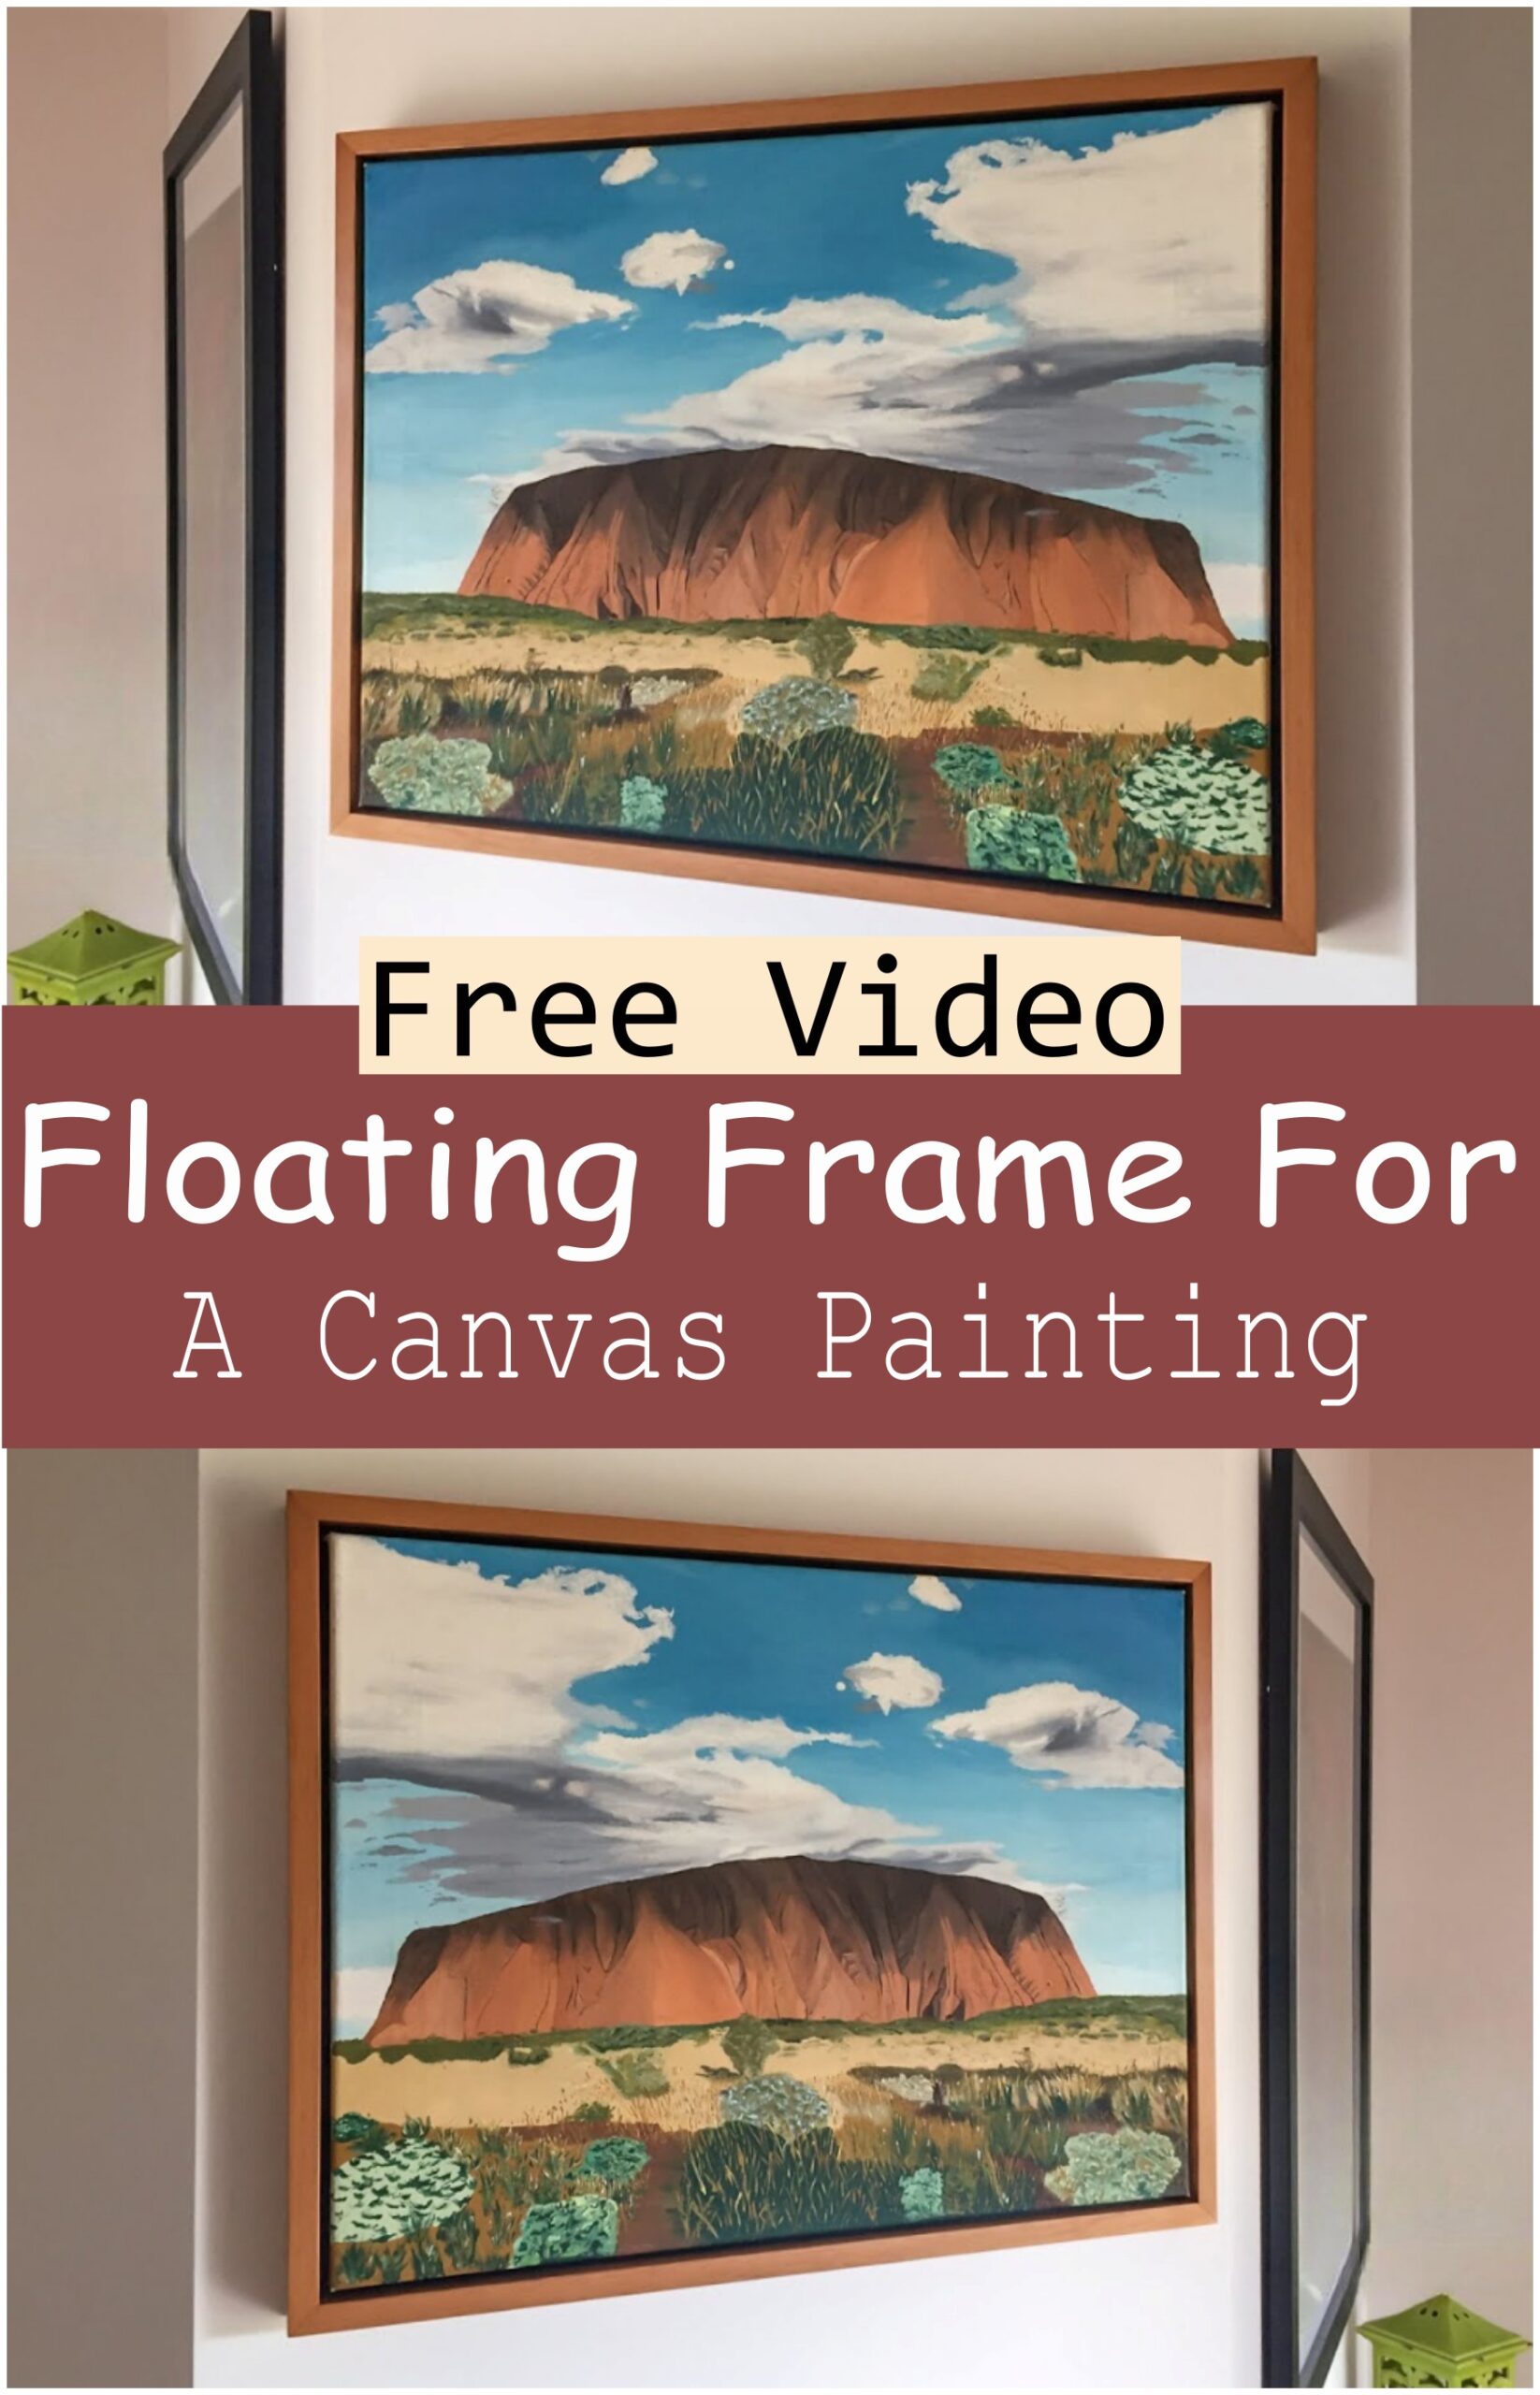
Floating Frame For A Canvas Painting
A floating frame for a canvas painting is a beautiful and modern way to display art while enhancing its visual appeal. It gives a sleek, minimalistic look by allowing the edges of the canvas to “float” within the frame, creating a subtle shadow around the painting. This type of frame adds depth to the artwork, making it feel like it’s suspended in the air, and is perfect for modern or contemporary art styles. The floating frame not only protects the painting but also allows it to stand out in any room.
Uses: Floating frames are perfect for showcasing canvas paintings, prints, or other art pieces that need a touch of elegance. They are commonly used in galleries, homes, and offices to create a refined atmosphere. The frame complements the art without overshadowing it, allowing the painting to take center stage.
Making: Creating a floating frame involves carefully constructing a wooden or metal frame that fits around the canvas, with a slight gap between the artwork and the frame. The frame is built to ensure the painting seems to hover while being securely supported. The frame is usually made with a sleek, clean design to highlight the art itself. It is an easy way to add sophistication and style to any piece of artwork.
Materials:
- Wood
- Metal
- Acrylic
- Paint (optional for finishing)
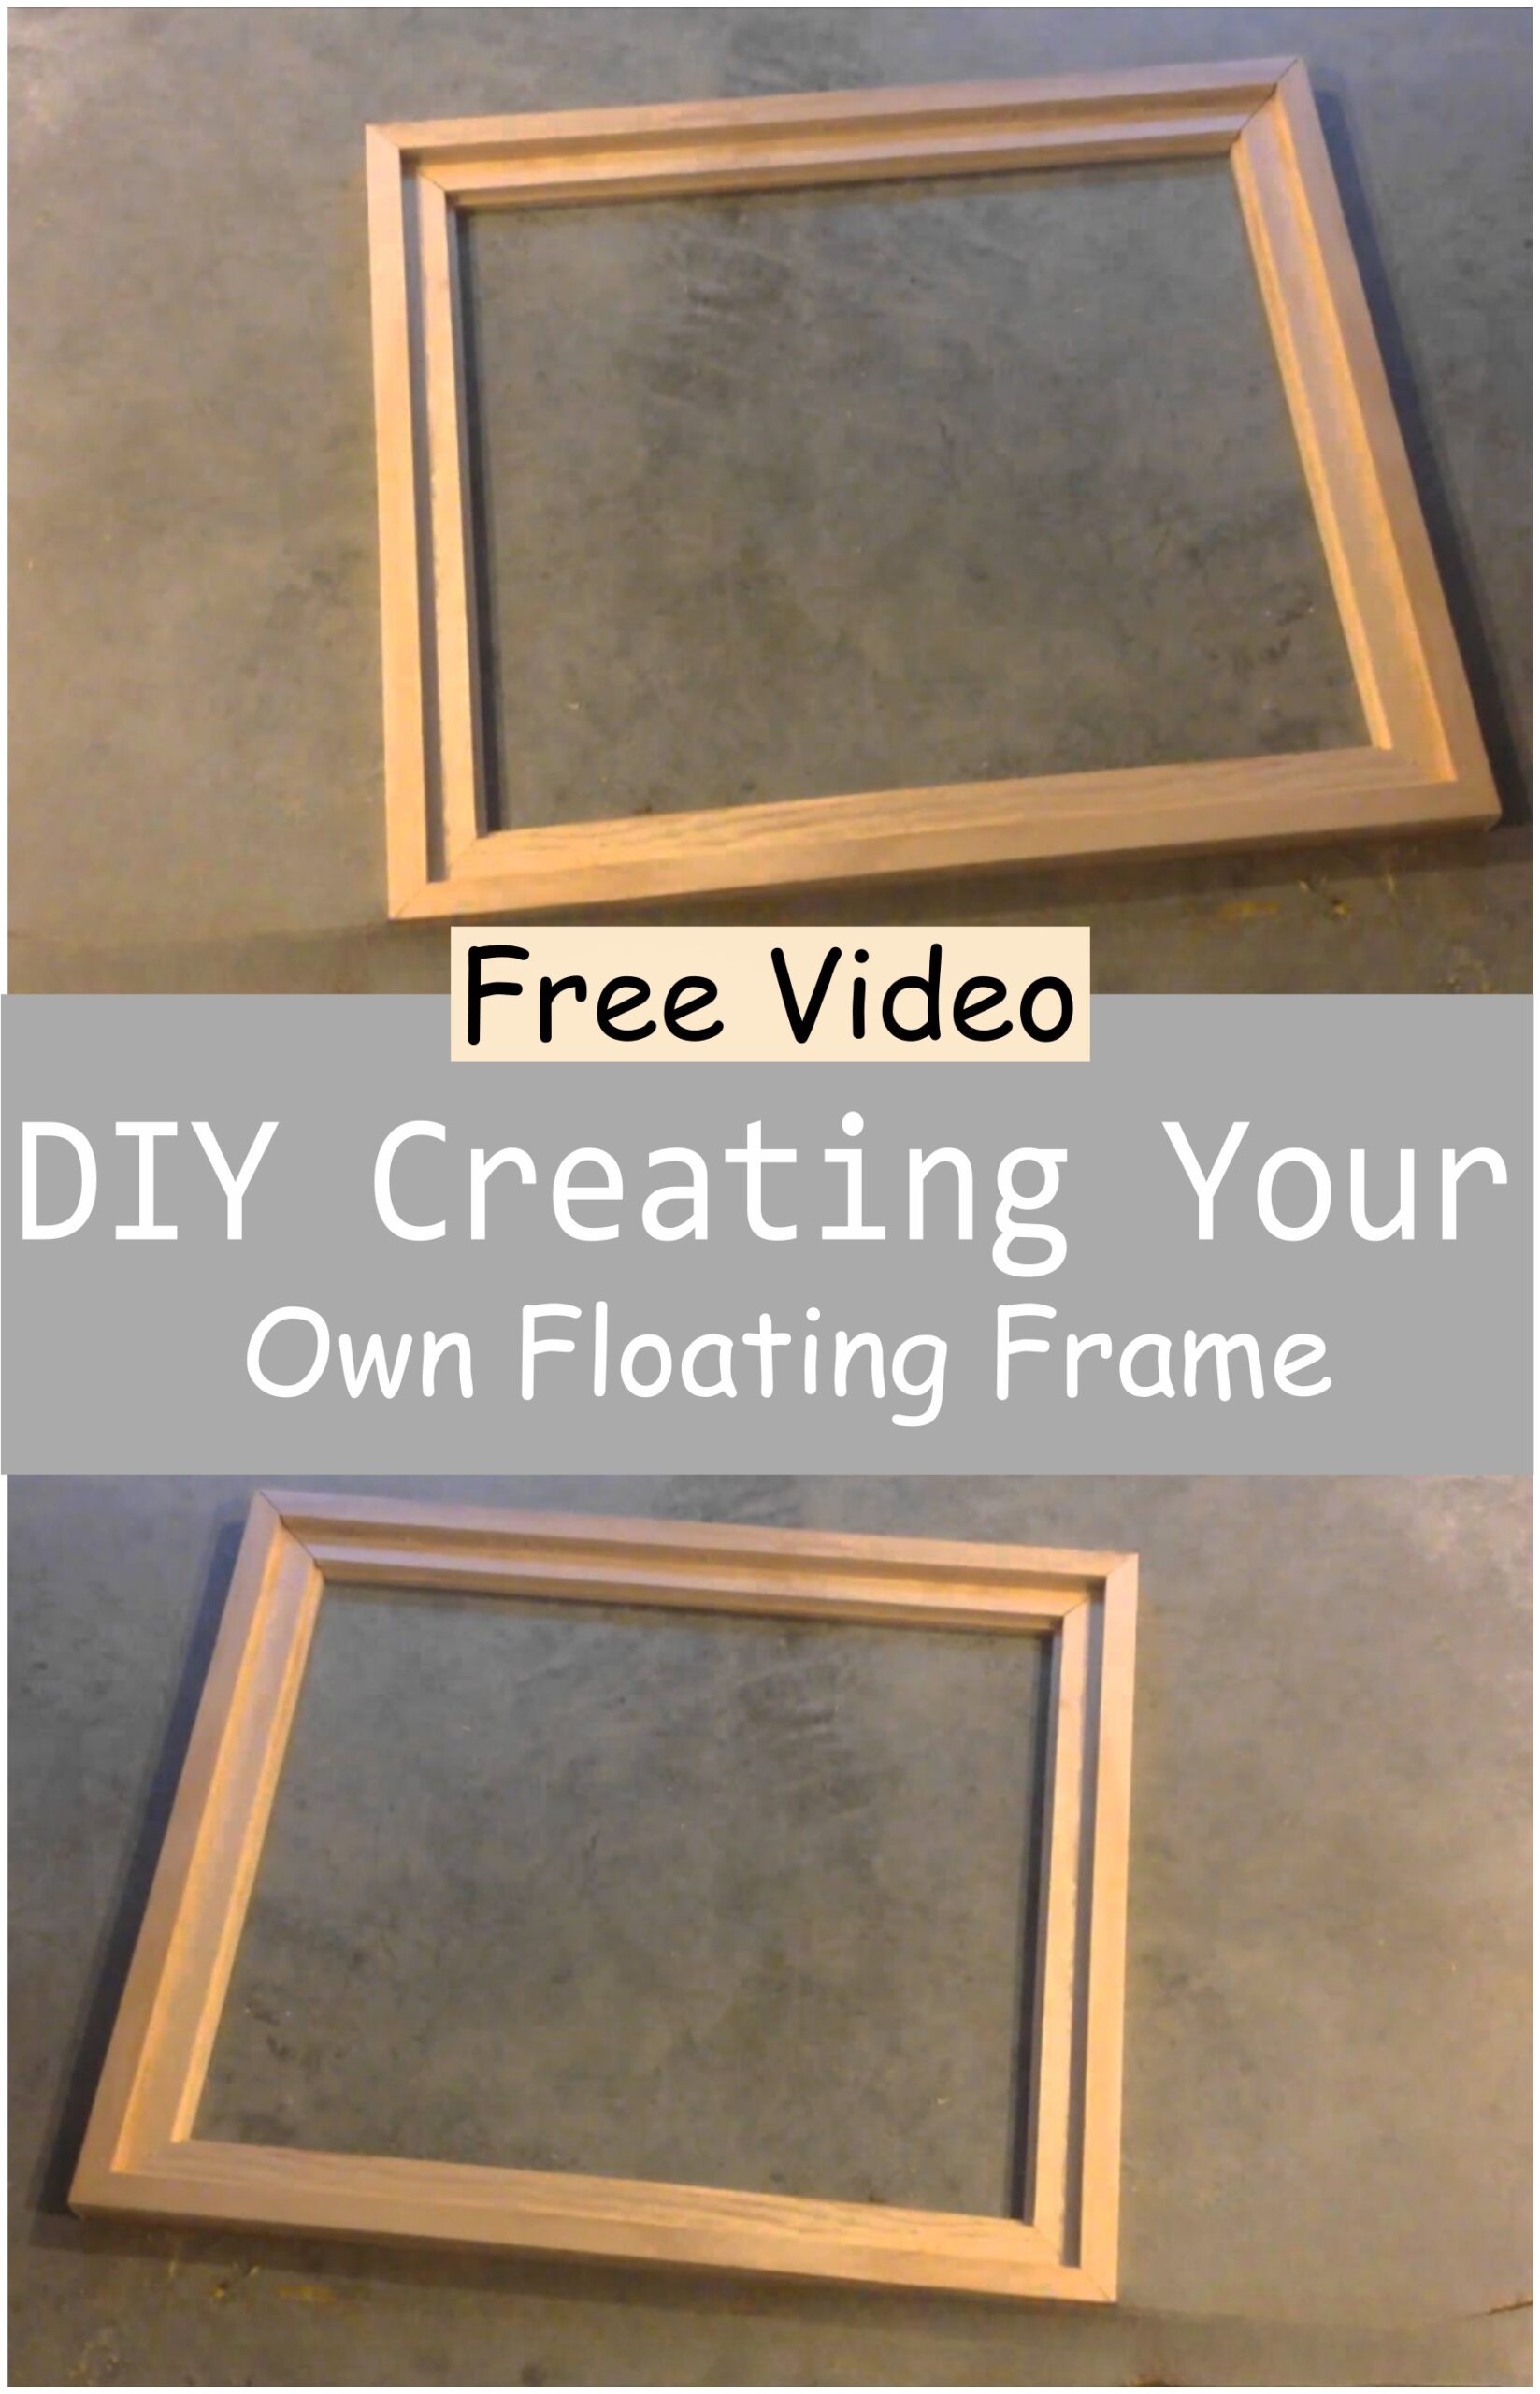
DIY Creating Your Own Floating Frame
Creating your own floating frame is a fantastic way to display your favorite pictures or artworks in a simple yet elegant way. This type of frame makes the image appear as if it’s floating within the frame, giving it a modern and stylish look. It’s perfect for adding a unique touch to your home decor or personalizing your space with your favorite moments or creative pieces.
Uses:
Floating frames are ideal for showcasing photographs, artworks, and prints. They are perfect for home galleries, offices, or as personal gifts. These frames allow the artwork to be the main focus, making it stand out with minimal distraction.
Making:
To create a floating frame, start by measuring and cutting the wooden pieces to fit around the image. After the frame is assembled, leave a small gap between the artwork and the frame to create the floating effect. Secure the picture using clear spacers or corner clips that will hold the image in place without covering the edges. Finally, finish the frame by sanding, painting, or staining it to match your desired style.
Materials:
- Wooden strips for the frame
- Measuring tape
- Saw for cutting
- Clear spacers or corner clips
- Wood glue or nails
- Sandpaper
- Paint or stain for finishing
 Stylish Functional Shelves Ideas For Creative Storage Solutions